

 Broderic Fernow
1 min read
How to Use a CFN Fuel Card: Step-by-Step Guide for Fleet Drivers
Fueling with a CFN card works a little differently than using a regular payment card, especially at CFN cardlock locations. But once you understand...
Using a Voyager fuel card is pretty straightforward, but there are a few steps to know so your transaction goes through smoothly. Whether you're a new driver or onboarding a whole team, this guide walks you through exactly how to use a Voyager card at the pump, including what info you need, how to enter it, how to start fueling, and what to do when you’re done.
Before you swipe your Voyager fuel card, make sure you have everything you need ready to go. Once the pump starts asking for info, you only get a few seconds to enter it before the transaction times out and you have to start over.
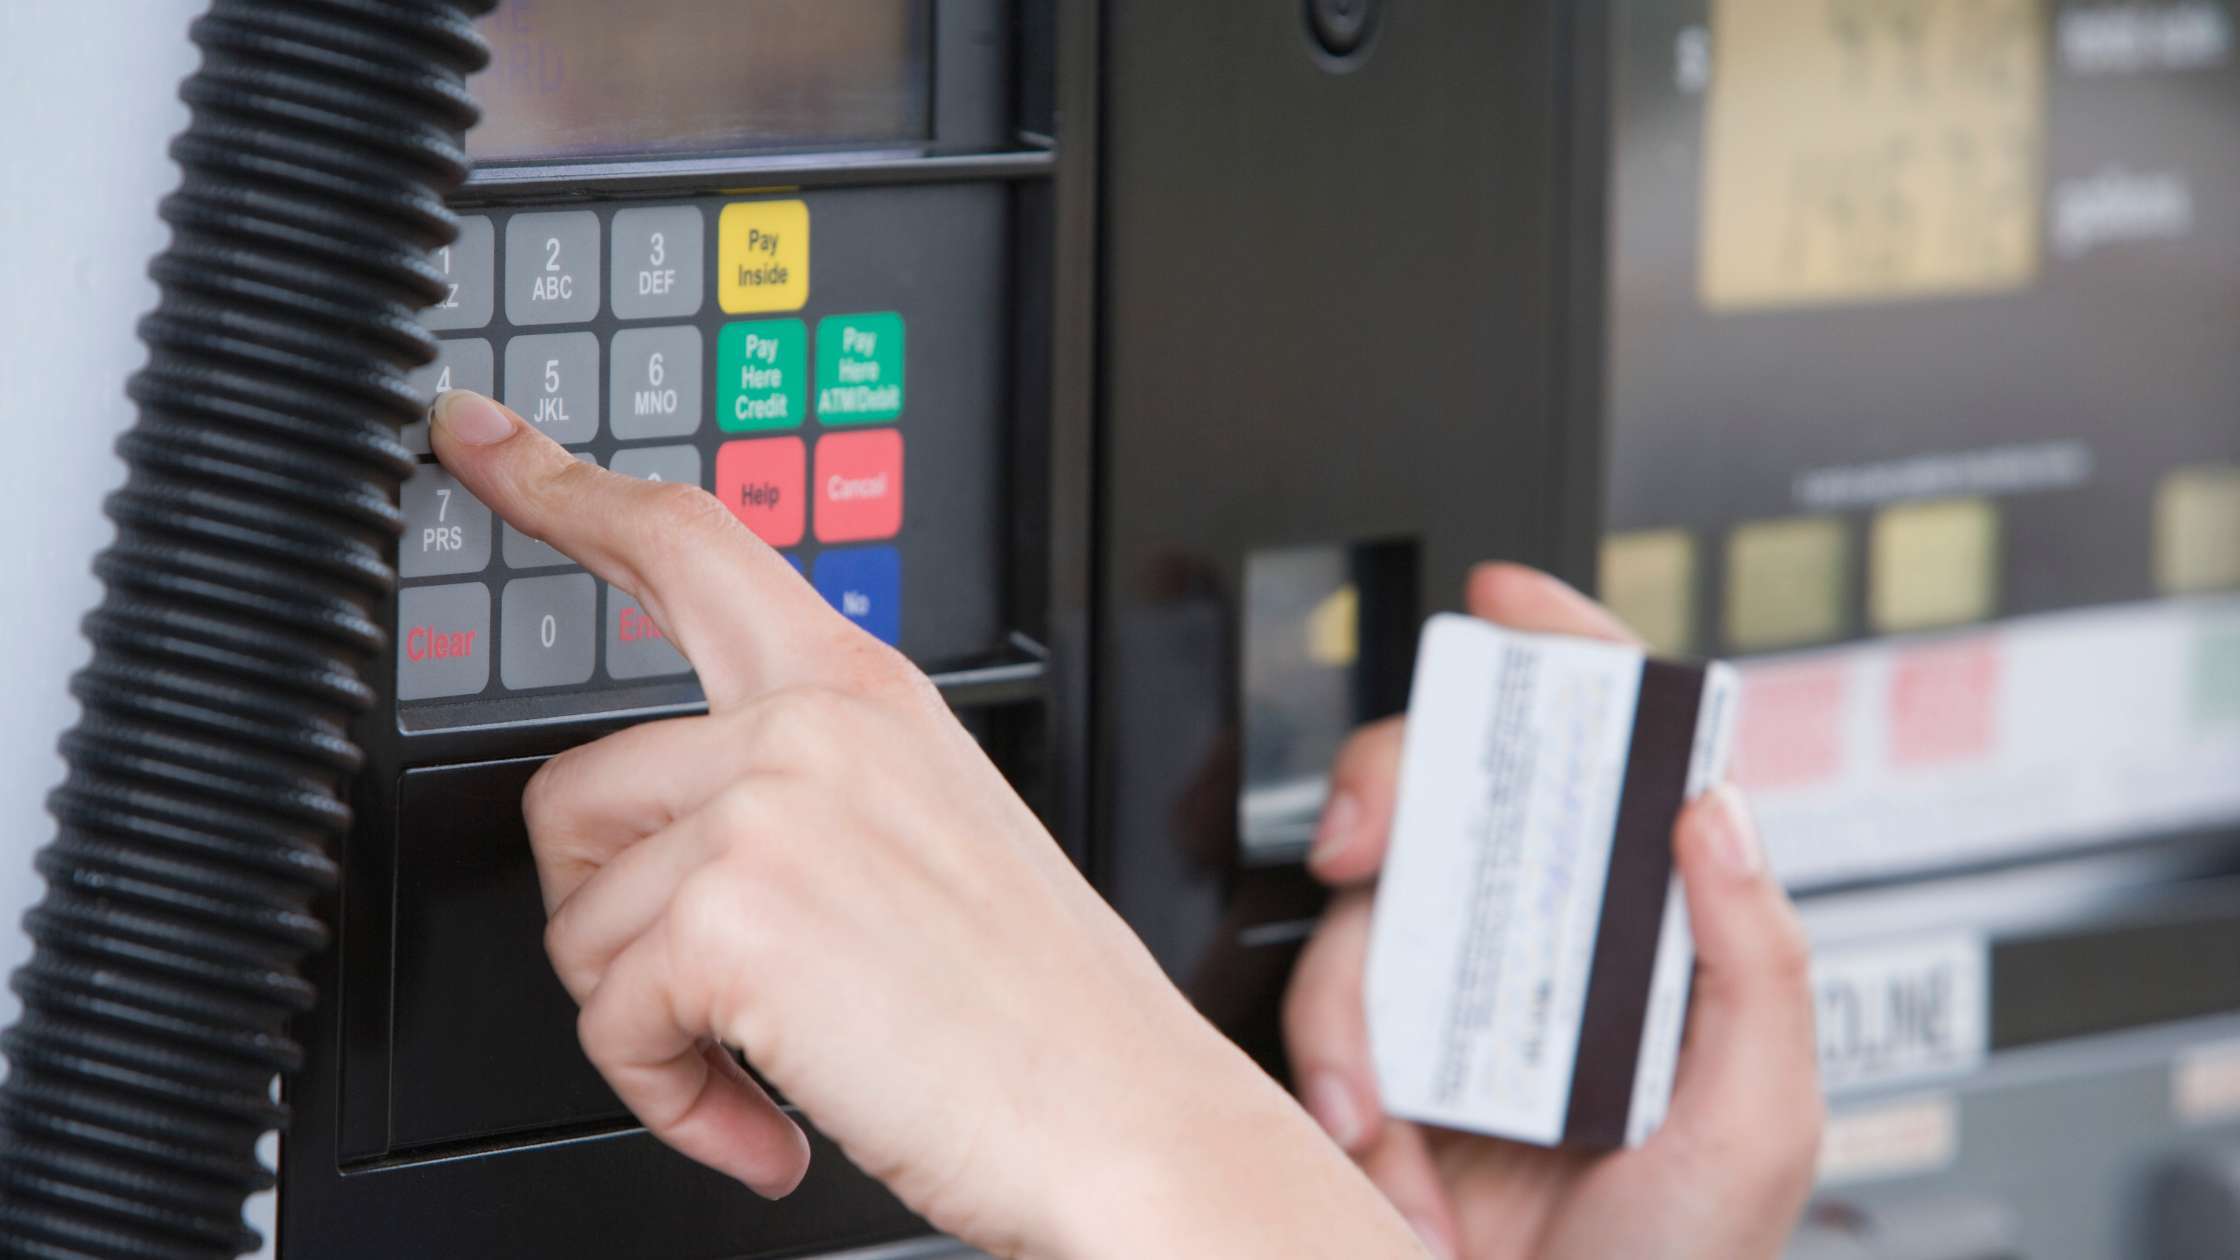
Swipe your Voyager card at the pump. If you’re asked to choose between “Credit” or “Debit,” select Credit. If the pump displays “See Attendant,” just head inside and they can run the transaction for you.
Some independent truck stops and commercial fueling sites use stand alone card readers at the island instead of pump mounted readers. If you see one of those, swipe your card at the stand alone reader, enter your info, then type in your pump number and start fueling.
After you swipe your card, you'll be prompted to enter your PIN and odometer. Make sure you enter everything correctly so the transaction goes through and your reporting stays accurate.
If the transaction is declined, double check your entries and try again. If it still doesn’t go through, reach out to your fleet manager or call the fuel card support number on the back of the card to find out what’s going on. Fleet managers can also review our guide on common fuel card decline reasons and how to prevent them.
If everything was entered correctly, you’ll see a message like “Pump Ready” or “Remove nozzle and select grade.” Once that pops up, you’re good to start fueling.
It sounds obvious, but when you’re done fueling, make sure you lower the handle and hang up the nozzle. Drivers forget from time to time, and that can create issues, like the next person fueling on your transaction, or worse, driving off with the nozzle still in the tank and ripping the hose, which can cause spills and costly repairs.
Once the transaction is finished, your fleet manager will automatically get a digital receipt if e-receipts are turned on. They can also view all transaction details inside the fuel card portal under the “Real Time Fuel Report.”
1 min read
Fueling with a CFN card works a little differently than using a regular payment card, especially at CFN cardlock locations. But once you understand...
1 min read
Effectively managing fuel expenses is crucial for any business operating company vehicles because it impacts both operational efficiency and cost...
1 min read
Fuel can be a significant operating cost for business fleets, but did you know some of what you spend on fuel may be refundable? If your business...